Chippendale Chairs at the Port Townsend School of Woodworking
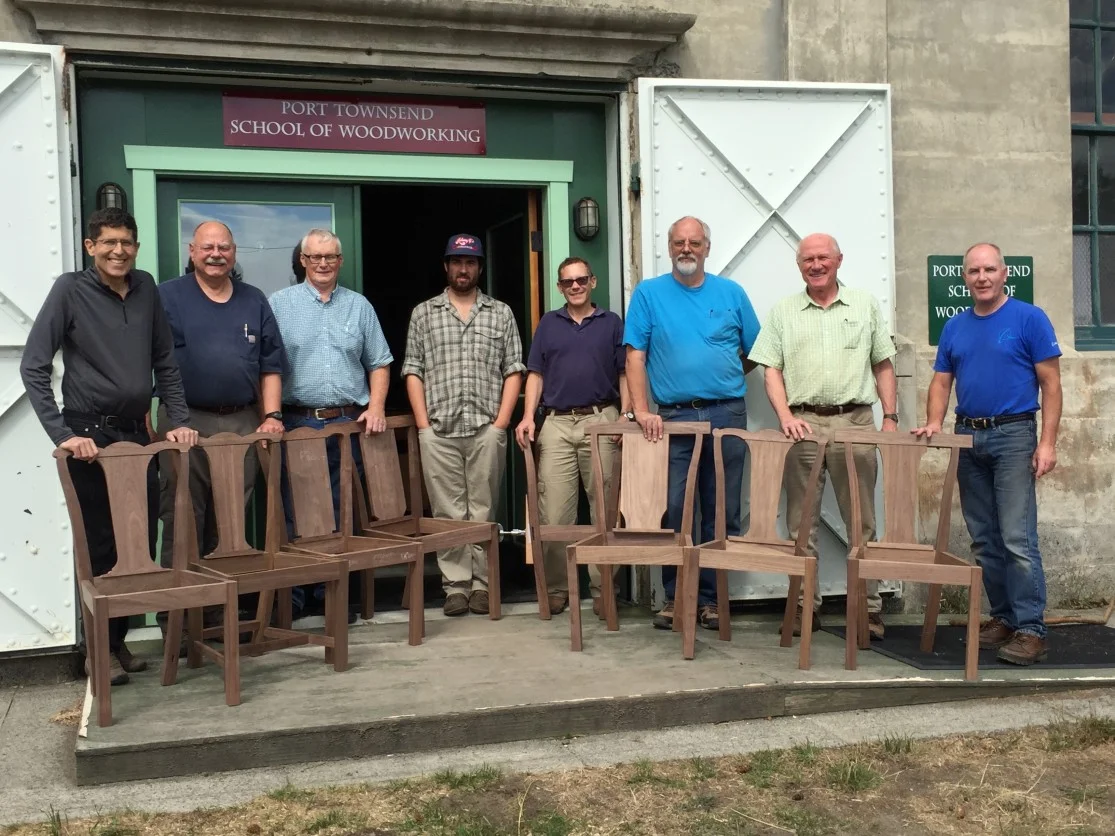
I’m back from the Port Townsend School of Woodworking for over a week, now, but I wanted to write a little about the class I taught. This was by far the most challenging class I’ve done – at least from my end. My goal was to get a class full of students to build a sophisticated chair using almost exclusively hand tool joinery. We incorporated what is now years of my work developing methods, jigs and systems for cutting complex angled joints with accuracy and repeatability.
I did more preparation for this class than for any other class I’ve taught. I needed to make special historically inspired tools and jigs (Chairmaker’s saws and Tenoning Frames), develop some simple paring and chopping guides.
I also had to work through the building process in a way that students of varying skill levels (from talented beginner to pro) could handle it. I also had to prepare the “kits” of parts for the chair, which consisted of pre-cut rough parts for all of the components. Then there were drawings of the chair, detail drawings of the joinery, and patterns for the shaped parts to create.
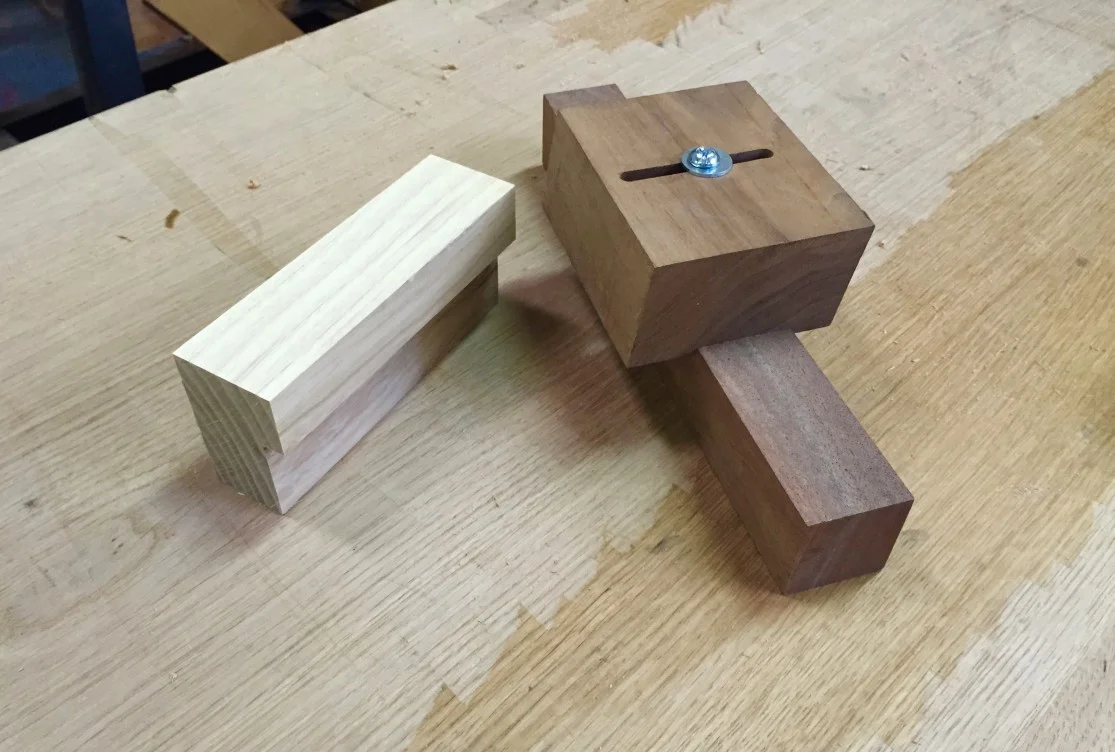
A simple and an adjustable (and angled) mortise paring jig
It all went well, although we lost power during a wind storm on the last day. This only really affected the shaping of the crest rail, back splat, and saddle, which we were cutting on the band saw. The hand tool work went on as planned.
There were a few keys to the successful build:
- We used mortise paring guides; simple, shop made blocks with fences that helped guide the chopping – whether it was for straight or angled mortises – and then paring of the mortises. This helped keep the mortises under control. Good, clean mortise walls are key to a good joint.
- We fit the tenons using a router plane. This ensured that the cheeks were flat and parallel, and once everyone got the hang of taking off just a little bit at a time, the fitting went well.
- We cut the shoulders using a Chairmaker’s saw, holding the work in a Tenoning Frame. I wrote about both of these previously, both in Popular Woodworking, and here. This is what these tools are designed for, and they do the job amazingly well. They take a challenging process and make it simple.
- We used wedges for the two main angles in the chair. One wedge was for the outward splay of the back legs (and it also helped lay out the twist in the side rails, the optional stretcher mortises, helped cut the angled tenons on the back rail, and also worked as a clamping caul for the back assembly). The other wedge was for the splay of the side rails, and was just as versatile. I’m not sure how I’d build chairs without wedges. And I think the students got a good taste of why I feel that way.

Fitting the tenon cheeks with a router plane
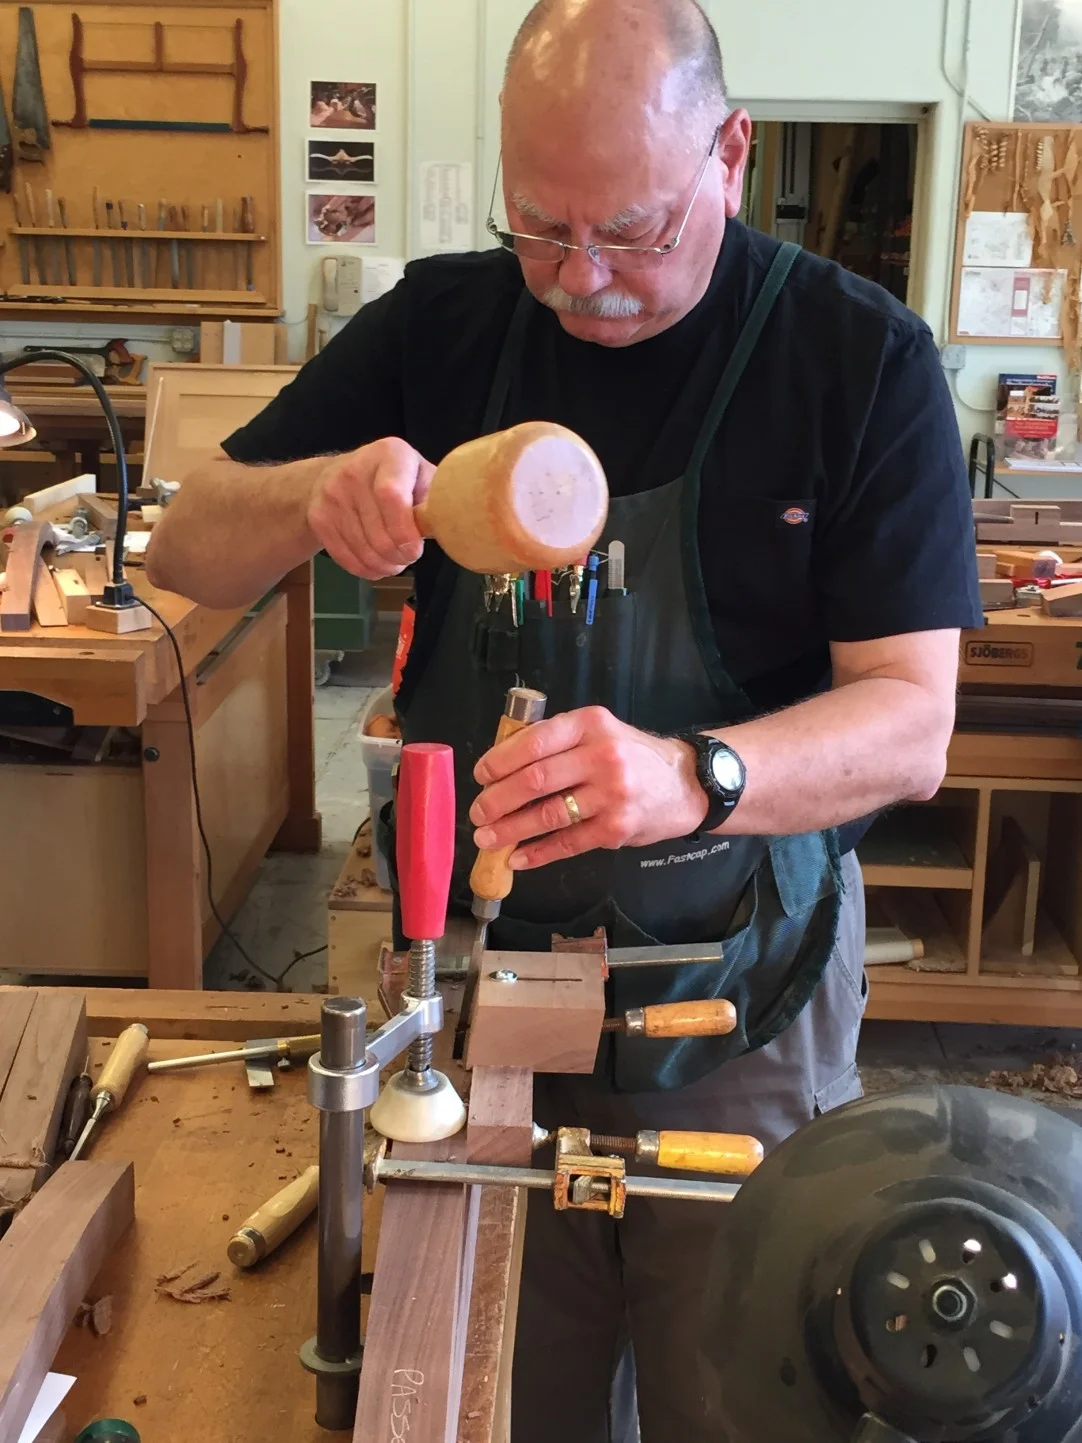
Chopping an angled mortise.
The most difficult part of building the chair? There were four joints where we couldn’t use router planes for fitting. Relying instead on shoulder planes proved challenging. Even though these are considered the standard tools for this job, shoulder planes take a lot of practice to use effectively when fitting tenons, and there were more than a few of these joints that had to be patched and reworked as students got the hang of the tools.
There’s no question that a router plane (I’m speaking mostly about one of the modern versions from Lie-Nielsen or Veritas) makes fitting tenons much more reliable. If this is something you haven’t tried, it’s worth giving it a shot. It’s not a universal replacement; as we saw with this chair, there are joints that call for other tools. But the router plane is a terrific tool for tenons.
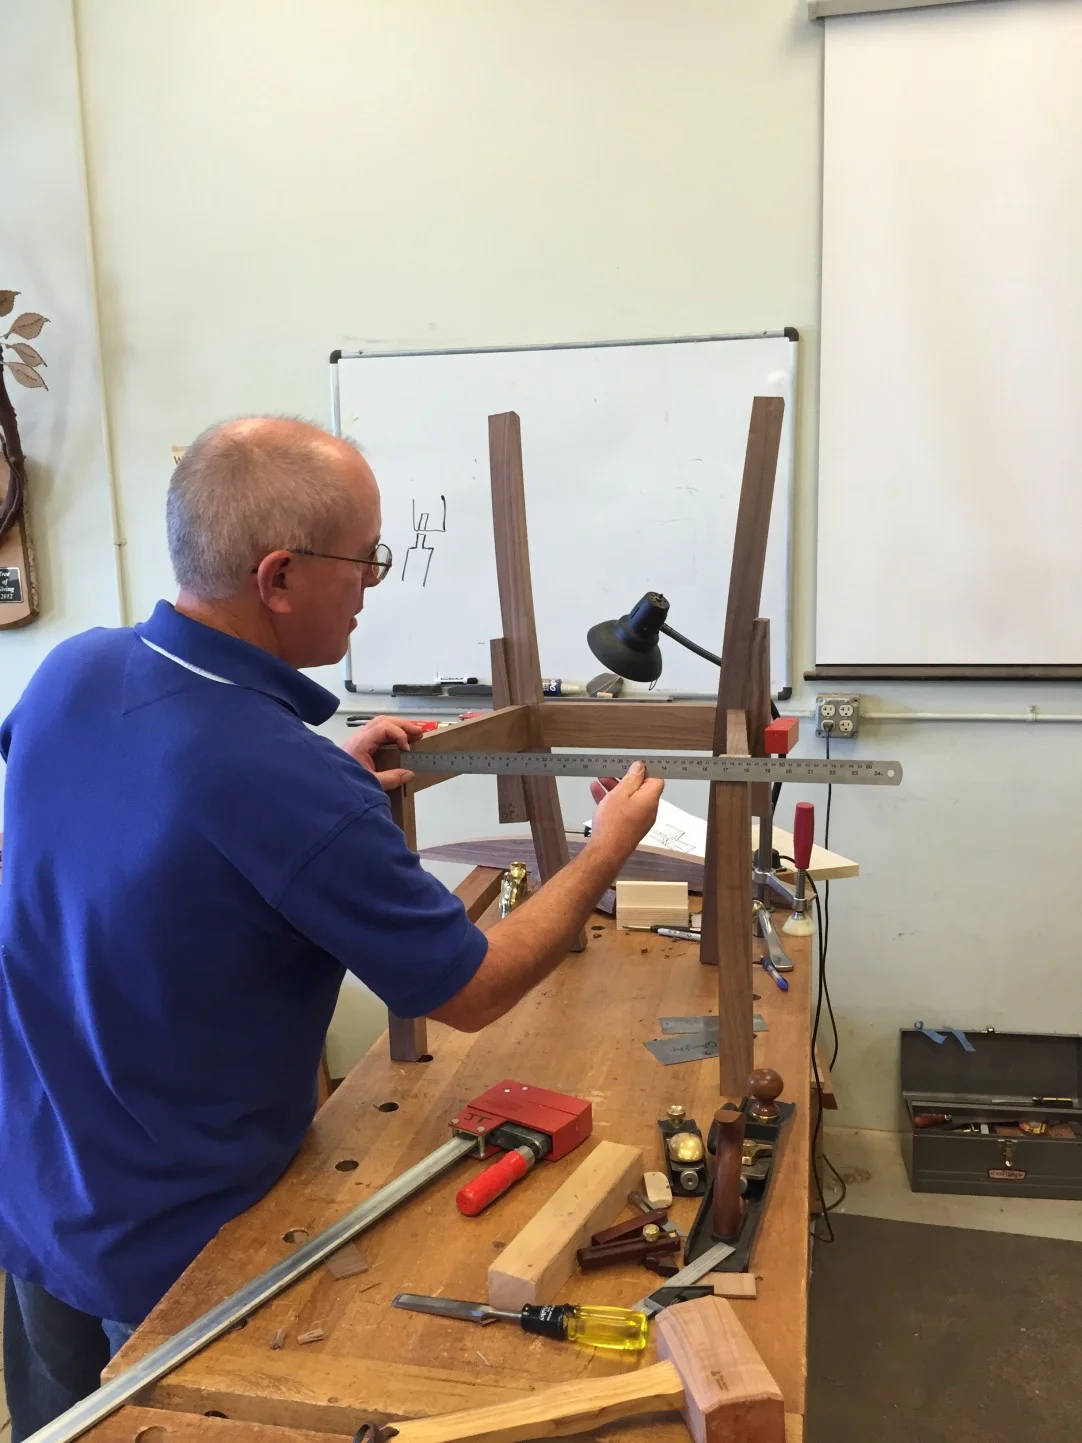
Measuring for the front rail